Christmas is past and ornament placeholders are now passe. BUT, if you will scroll to the bottom I will show you how to make a placeholder out of just about anything. If it has a hole, or you can make a hole and it is able to stand upright you're in business!

I loved the ornament place holders on the tablescapes of BNOTP and the The Tablescaper. I loved them so much that I thought I would make my own and share that process with you.
The first way is the easy way and works great in a pinch.
You'll need
1 ornament
2 wire ornament hanging loops (scavenge the second one from another ornament)
Sand, bath crystals, rice, peas or what have you to use for ballast to keep the ornament upright.
I used

Ok, it was all I had on hand! Sand or bath crystals would be best if you are going to make them ahead of time or leave them out for a few days. Ants or other bugs crawling out of your place holders wouldn't be a good thing during dinner.
Here are your parts. Remove the top and pour your ballast into the hole in the ornament until it is about half full. Put both loops into the top and replace on the ornament. Gently shake your ballast to even it out so the ornament will stand upright. You may need to do this a few times until you get it just right.

Viola!

The second method is more fiddly and is great if you need to get your craft on.
You'll need
1 ornament
Thin wire. I used 20 gauge for this demonstration.
1 pencil
Wire cutters
Needle-nose pliers
Ballast

Cut a length of wire that is comfortable to work with. I cut mine to 9 inches. Straighten the wire as much as possible. Place the pencil against the middle of the wire and wrap one end around the pencil twice to make a double loop.
 Remove the pencil. Leaving about about 2 inches of tail on each wire, trim the bottom of your wires evenly. You will want these rather long so that they expand against the inside of the ornament. If you cut them too short your wire loops will wobble around in the top of the ornament and aggravate you to death
 If you need to, slide the pencil back through your loops and adjust until even. Then slide the wire through the ornament top. Pull the wires apart to create a little tension.
Replace the top on the ornament being careful not to bend your wires in too much.
You're done!

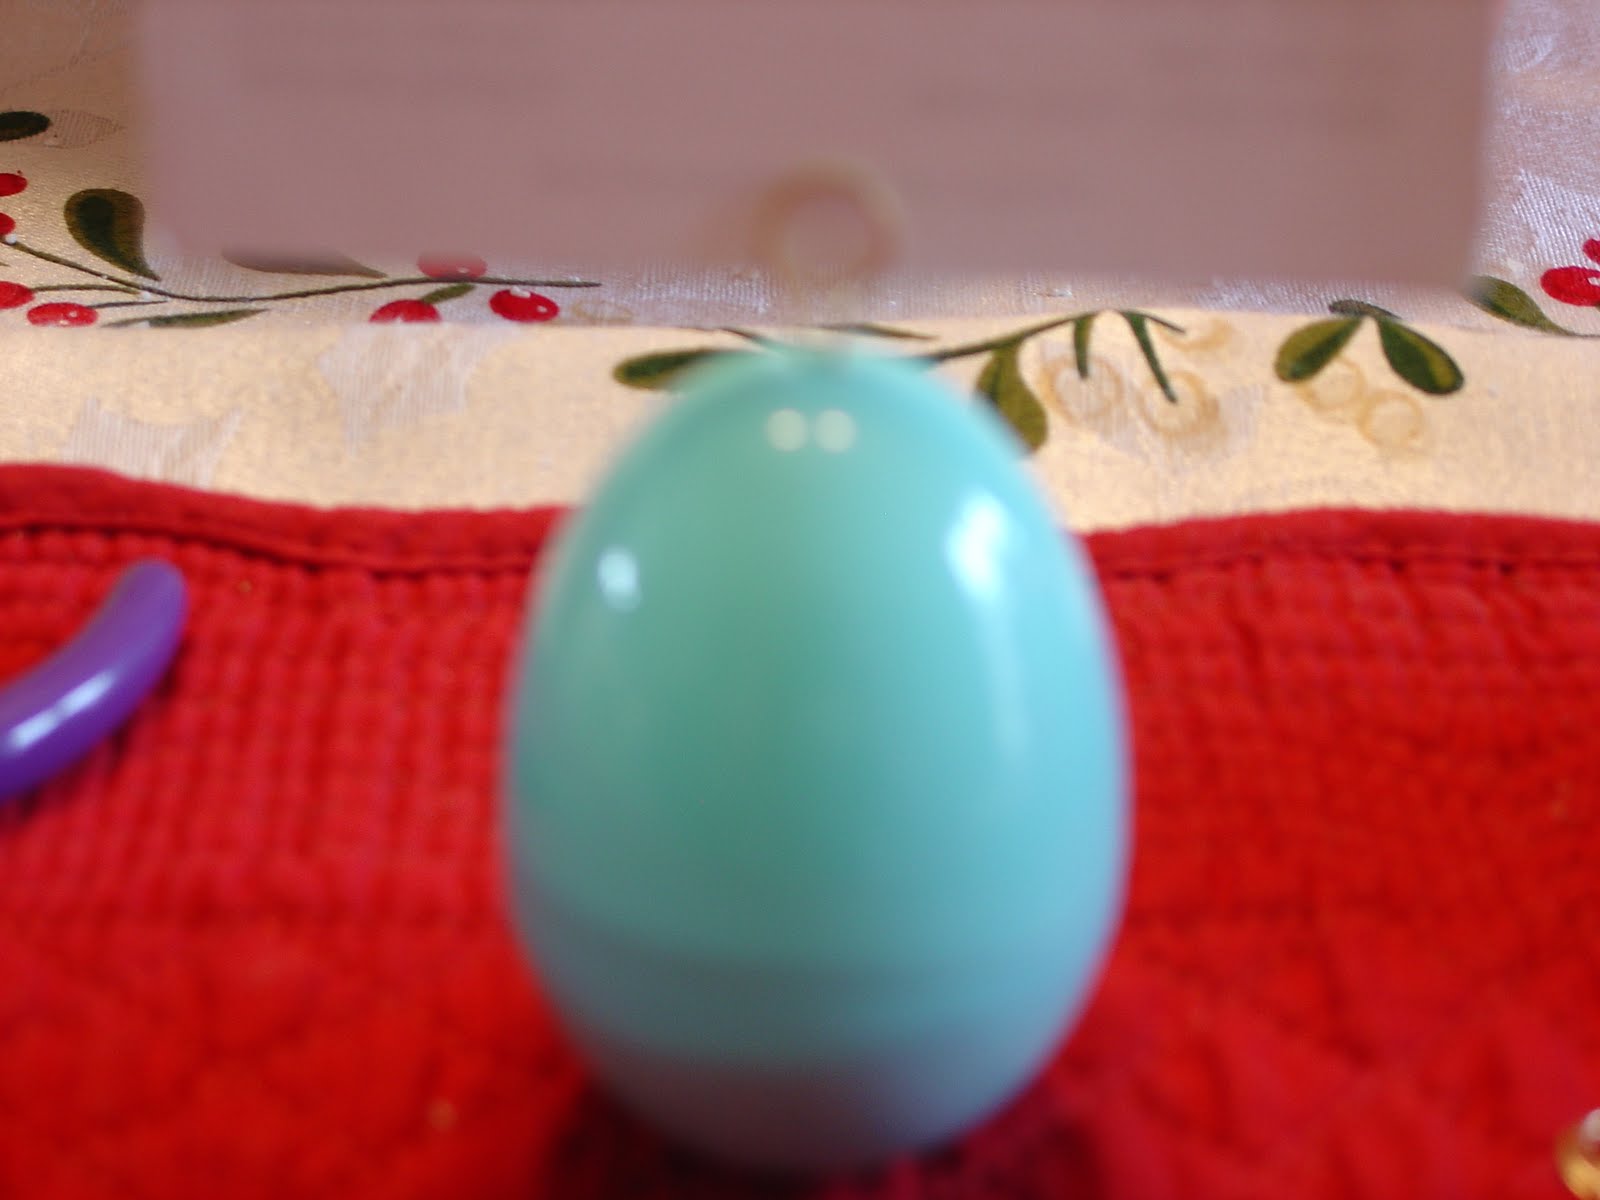
This method also works for plastic Easter eggs. Use a hot ice pick to poke a hole in the top. I used a cork screw as someone took mine out of my toolbox. I wonder who that could have been? cough Jeff cough. The corkscrew left a ragged hole on the top so if you have to use that you'll want to cover it up with some decoration. You'll need to experiment to find the right length to cut the tails. I used the wire loop from my ornament demonstration and it's a little long but it demonstrates the concept. Why an Easter egg? Christmas is gone for another year and there is a whole year of tablescaping ahead. I just wanted to give you an idea to get you started.

Labels are easy. I would suggest a sheet of blank business cards and your printer. I don't have pretty handwriting so that is the route I would take.
You could dress up plain ornaments with glitter, paint, lace or fabric. Let your imagination guide you and have fun!
Please visit Susan at Between Naps On the Porch for more great Metamorphosis Monday!


